Content table
System Requirements
Supported Operating Systems
- Windows 7; Windows Server 2003 R2 (32-Bit x86); Windows Server 2003 R2 x64 editions; Windows Server 2003 Service Pack 2; Windows Server 2008 R2; Windows Server 2008 Service Pack 2; Windows Vista Service Pack 2;
- Windows Vista (x86 & x64) with Service Pack 2 - all editions except Starter Edition
- Windows 7 (x86 and x64)
- Windows Server 2003 (x86 & x64) with Service Pack 2 - all editions
- Users will need to install MSXML6 if not already present
- Windows Server 2003 R2 (x86 and x64) - all editions
- Windows Server 2008 (x86 and x64) with Service Pack 2 - all editions
- Windows Server 2008 R2 (x64) - all editions
- Supported Architectures*:
- 32-Bit (x86)
- 64-Bit (x64) (WOW)
Supported DataBase
- SQLServer 2008
- SQLExpress 2008
Click here to download the SQL 2008 Express R2
Supported WebServer
- Microsoft Internet Information Server 7 (II7)
- Web Platform Installer2.0 * ( Download WebPI from : http://www.iis.net/webpi )
- Web Deployment Tool1.1 ( Download Web Delploy from : http://www.iis.net/download/WebDeploy | You can download the WebPI only WebDeploy is an extensions in WebPI.)
- Remote Admin manager for IIS7 (You can select this extension in WebPI)
- ASP.NET Development Server for VS.NET 2008
Supported .net framework
- Microsoft .net framework 4.0 or later
- ASP.NET Mvc 2
Click here to download the Microsoft .net framework 4.0
Install DotNetAge to runtime environments
Setup server runtime environments
1.Setup DataBase : ” Learn more about installation of SQLServer2008 from MSDN ”
2.Install Microsoft .net framework 4.0 (Download .net framework 4.0 from : http://www.microsoft.com/downloads/en/details.aspx?FamilyID=9cfb2d51-5ff4-4491-b0e5-b386f32c0992&displaylang=en )
3.Setup IIS 7
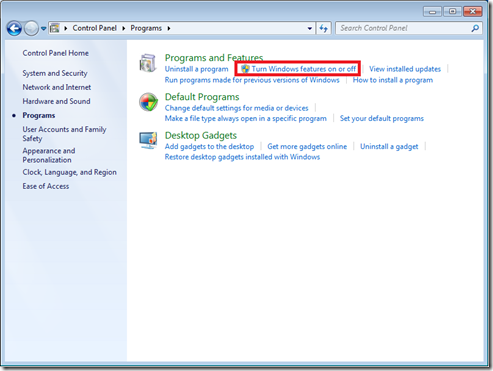
Open “Start menu->Control Panel->Programs->Turn Windows features on or off”
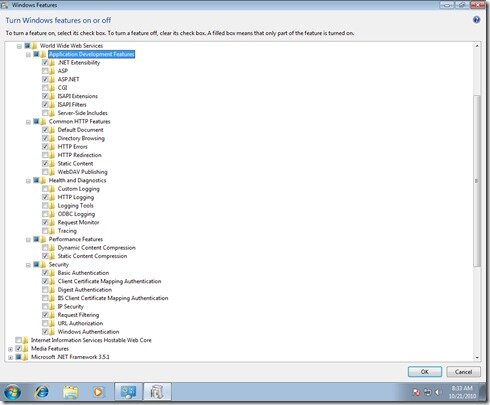
Open the windows features in below
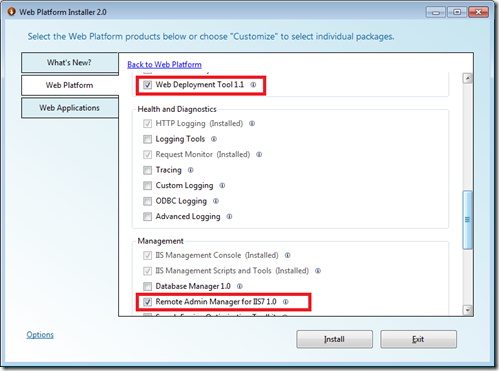
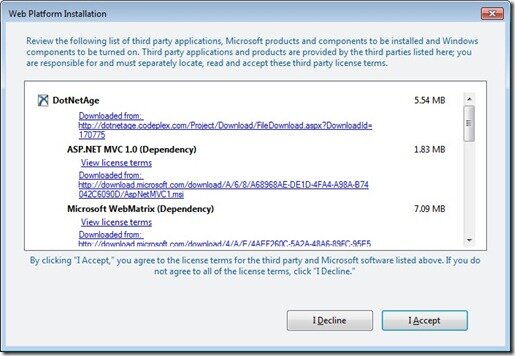
4.Install the WebPI and select the “Web Platfrom” tab like below:
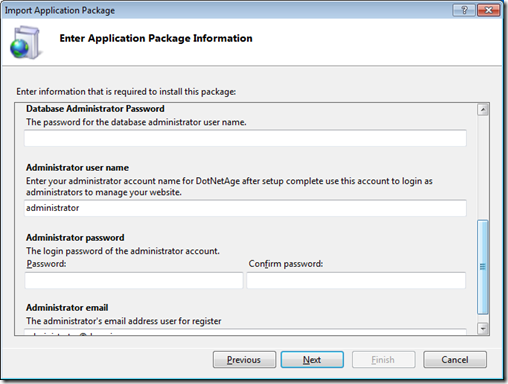
5.Import the DotNetAge runtime package for WebPI
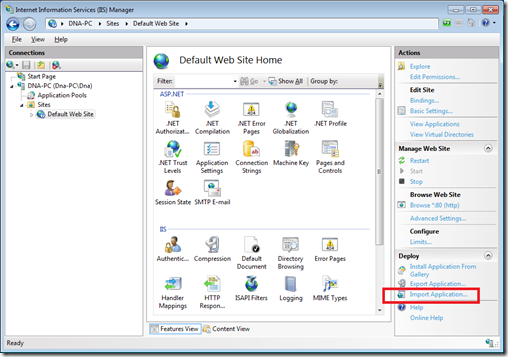
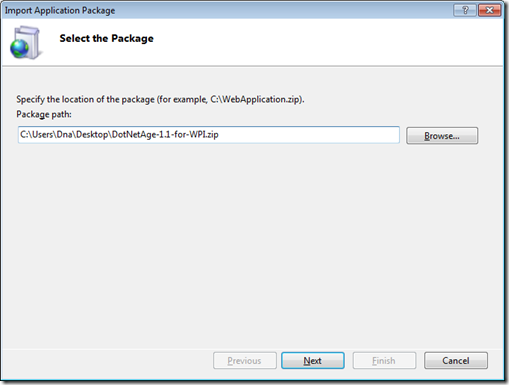
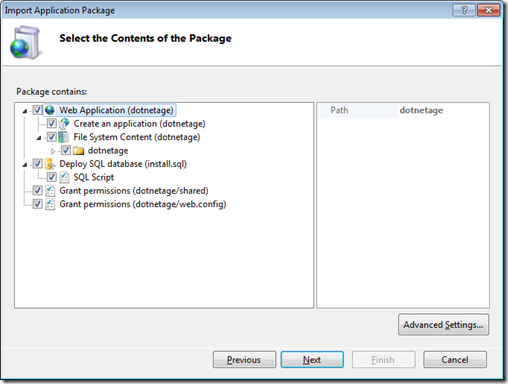
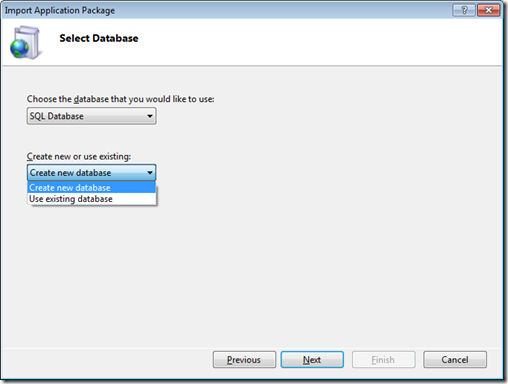
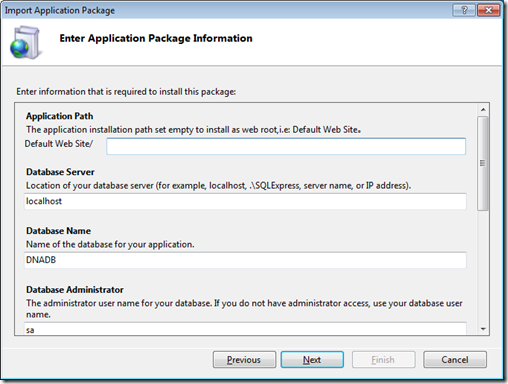
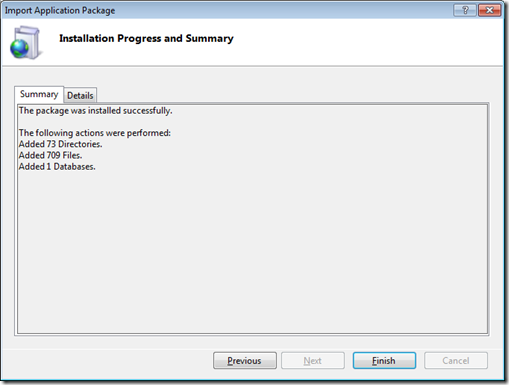
Open IIS Manager and import the DotNetAge runtime package file.
Start DotNetAge installation
Get host password
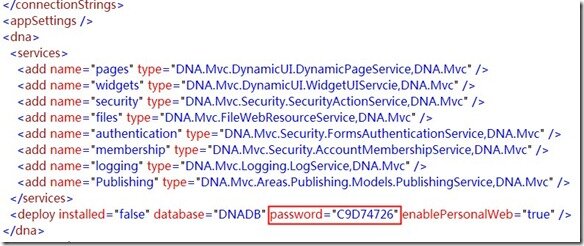
Open the DotNetAge in your web browser by default the host password is empty it generate on the installation home page first run.The DotNetAge will auto redirect to installation home page when your web site is new.Then open the web.config file of the DotNetAge installation root path.Get the password use for host logon.
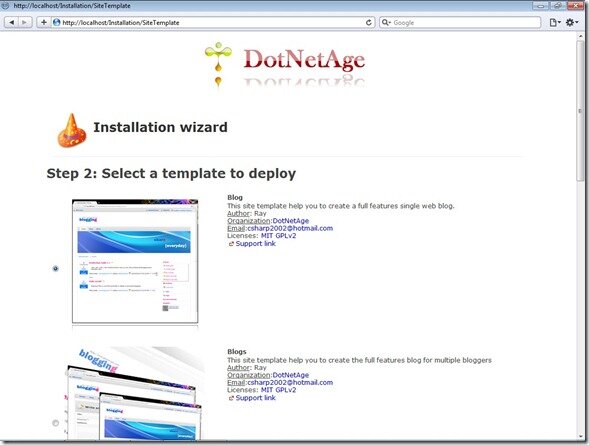
Select the web site template
After database creation there are 6 kind web site templates you can choice.
Finish install.
Using the default administrator account to login the DotNetAge.
Install DotNetAge to development environments
DotNetAge offers 2 ways to host your development environment:
Host source code in development environment
1.You need to install Vistual Studio 2010, SQLExpress 2008 first.
2.Download the DotNetAge source code from http://dotnetage.codeplex.com
3.Open the DotNetAge project from Vistual Studio 2010
4.Press F5 and run DotNetAge source code project,DotNetAge will auto redirect to the host login screen ,after you login select the web template to install,that is all.
DotNetAge for development version is use SQLExpress that allows you run the DotNetAge without install SQLServer2008
Install VISX file and host DotNetAge development environments from VS.NET Extendsion Manager
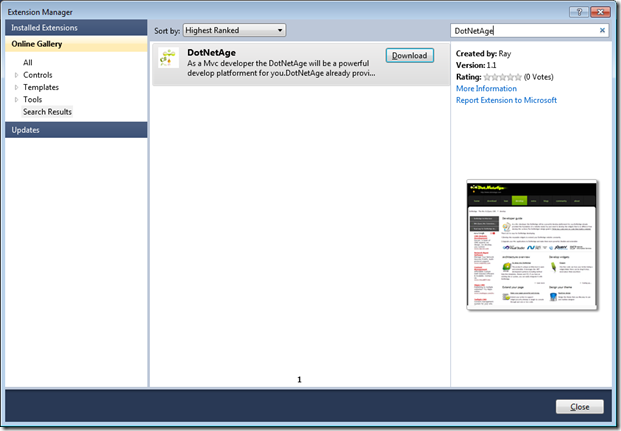
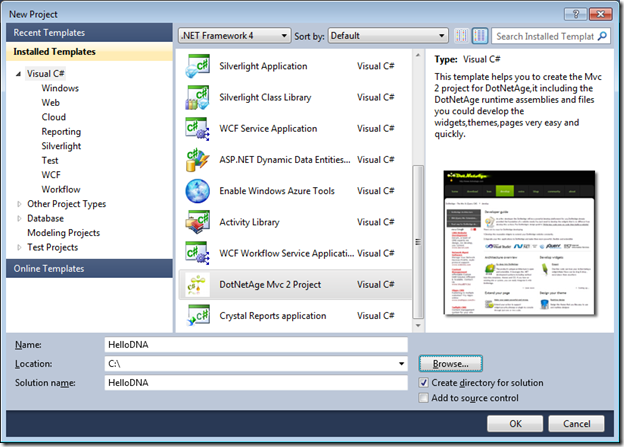
You can download the VISX package from http://dotnetage.codeplex.com or open the Extension Manager and Type “DotNetAge” in the Search box,download the DotNetAge project template to install it to your VS.NET 2010After download the extension and installation you can find the DotNetAge project in New Project dialog
This extension allows you run the DotNetAge directly without setup.
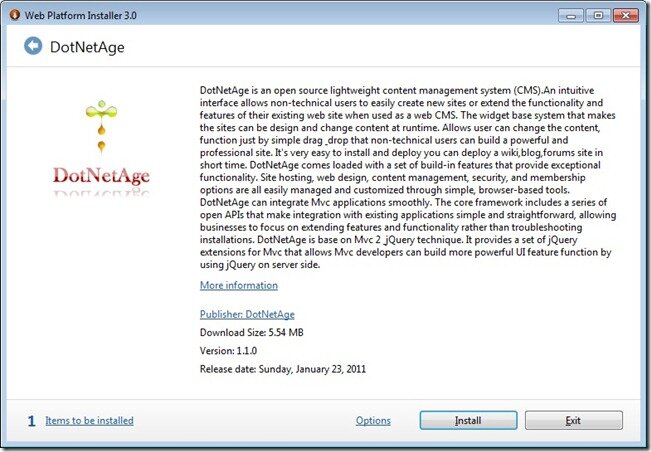
Install dotnetage from Microsoft web platform installer
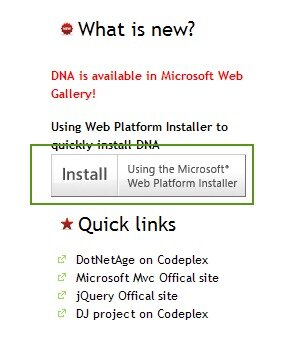
Click the install link from https://dotnetage.com home or go to http://www.microsoft.com/web/gallery/DotNetAge.aspx
Install the required components
After required components intalled that it’s same as “Install DotNetAge to runtime environments” steps.
Appendix : Installation notes for Web Matrix
In some case you maybe install the DotNetAge on your local server and do some changed then republished the DotNetAge to your remote server by WebMatrix.
If DotNetAge is installed as appliaction below default web root and it has a different app name on remote host please note about the follow notes:
After republish DotNetAge if you lost all membership users data that cause you could not login please change your web.config:
What have happen and why ? Open your web.config and
please note applicationName attribute in membership,roleManger and profile sections, if you install dotnetage on your local server and the WPI installation will set the applicationName to your local server so when you republish the DotNetAge to remote server and has different app path your user data,profile data,role data still point to "/" . So just change applicationName="Your remote app name" it will be fine.
-
Average:3,5
-
Okur(4156)
-
Permalink


