Overview
As a RAD CMS platform, Deployment is one of the best feature in DotNetAge. The DotNetAge can packing all content with in the website including web templates, data, web file resources, assemblies, themes and widgets to unified installation package format for share , download or install to other DotNetAge platforms. Users can generate the packages through DotNetAge console panels such as site settings, themes, web templates, widget manager they are all provides a "Export" function to get a installation package.
Packaging format
The DotNetAge package is a valid Zip archive file format.
The root of the package is the top-most path level of the Zip archive. The root of the widget package contains files and folders.
For example a package would ook something like this:
IssuseTracker.zip
/install.xml
/manifest.xml
/content/
- content - The folder that contains installation files and resources.
- install.xml - The installation config file.
- manifest.xml - The package description file.
A valid installation package must be has install.xml and manifest.xml file, when deploy the package to web site DotNetAge will locate these files first.
Deploy packages
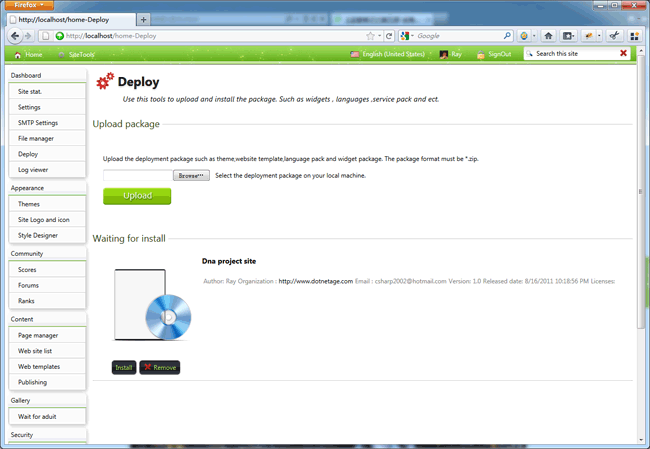
Step 1.Upload - Administrators can open the "Deploy" console panel in top site console and upload the packages to DotNetAge temporary directory.

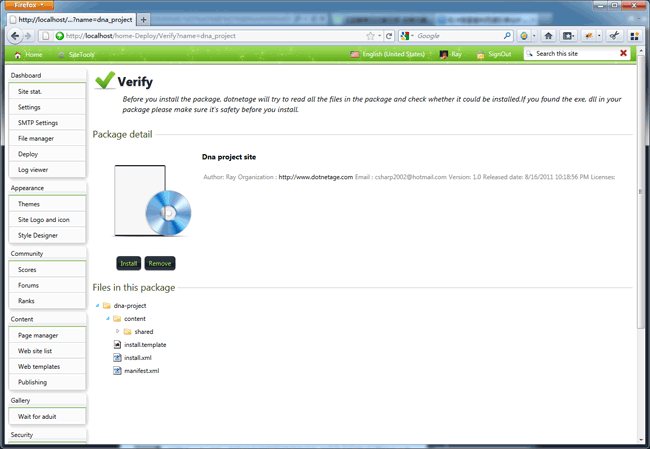
Step 2 Verify - Actual after uploaded the packages DotNetAge will not execute the deployment yet, the packages must be verified by administrator and check whether the package contains any high risk files such as *.exe or *.bat.

Step 3 Execute - Click "install" to execute the deployment.
How to get the packages
- Visit DotNetAge web gallery to download the packages.
- Generate from current DotNetAge website.
-
Average:
-
Читает(1101)
-
Trackback(0)
-
Постоянная ссылка


Комментарии (0)